
Add a company to EventFlow FE PRO and configure the issuer information required for electronic invoicing.
1. Add a company
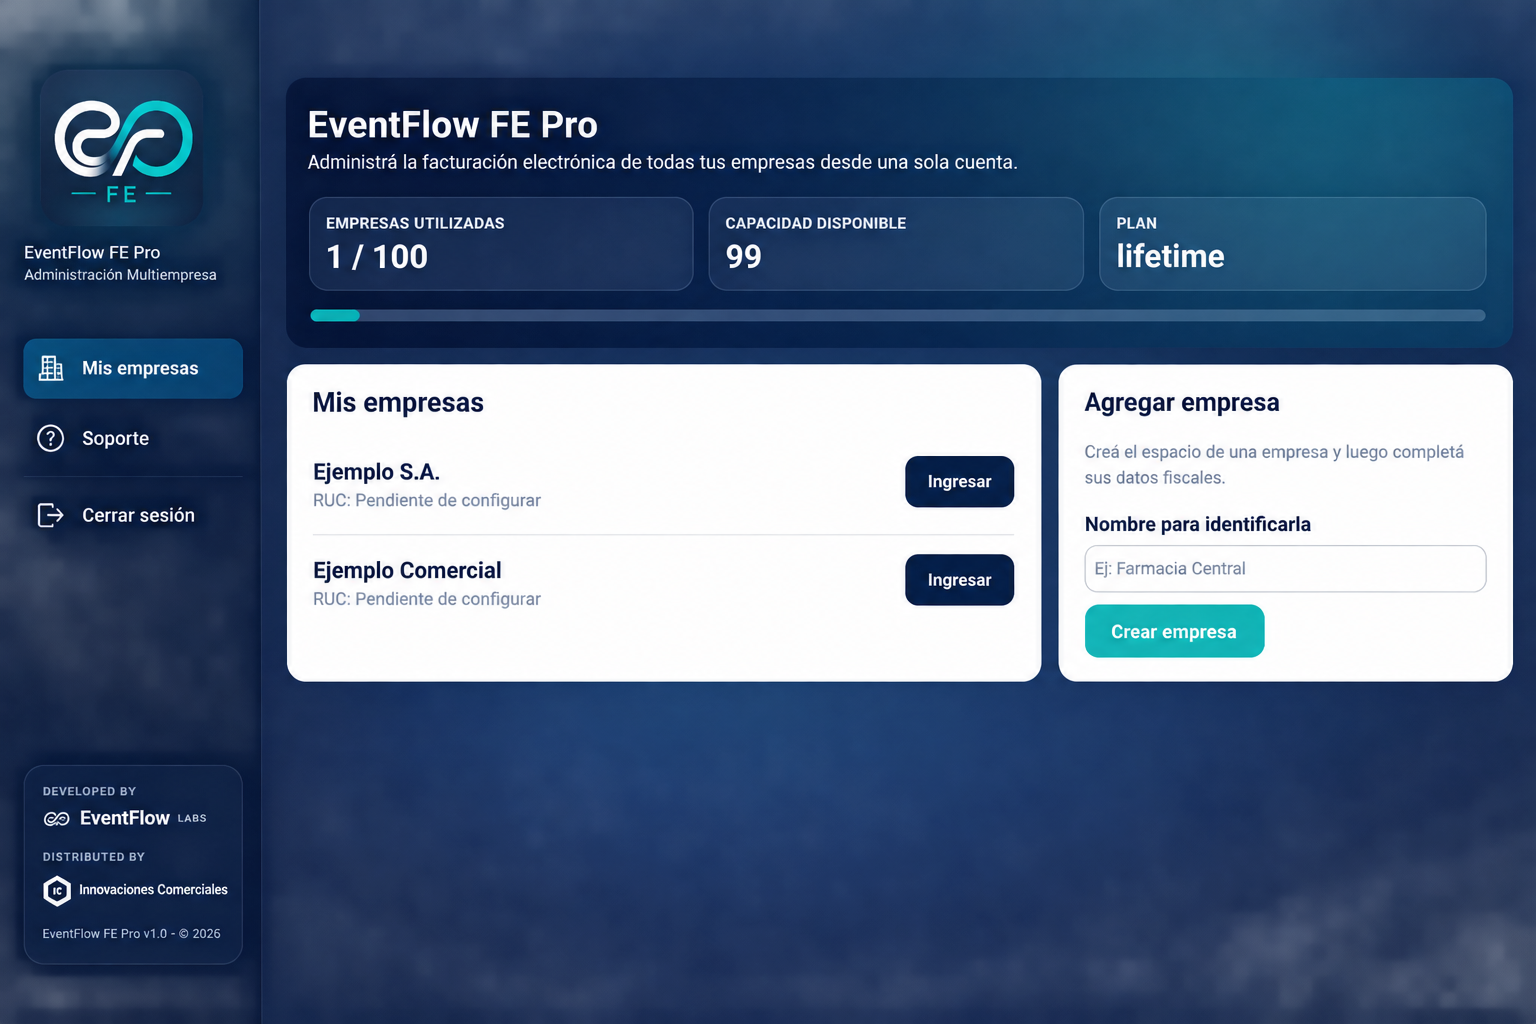
From My companies, review the companies already managed through your FE PRO account and the available capacity of your license.
Under Add company, enter a name to identify the company and select Create company. This creates the company workspace where its fiscal configuration and invoicing operation will be managed.
2. Complete the fiscal information
After creating the company, EventFlow FE PRO opens its company workspace.
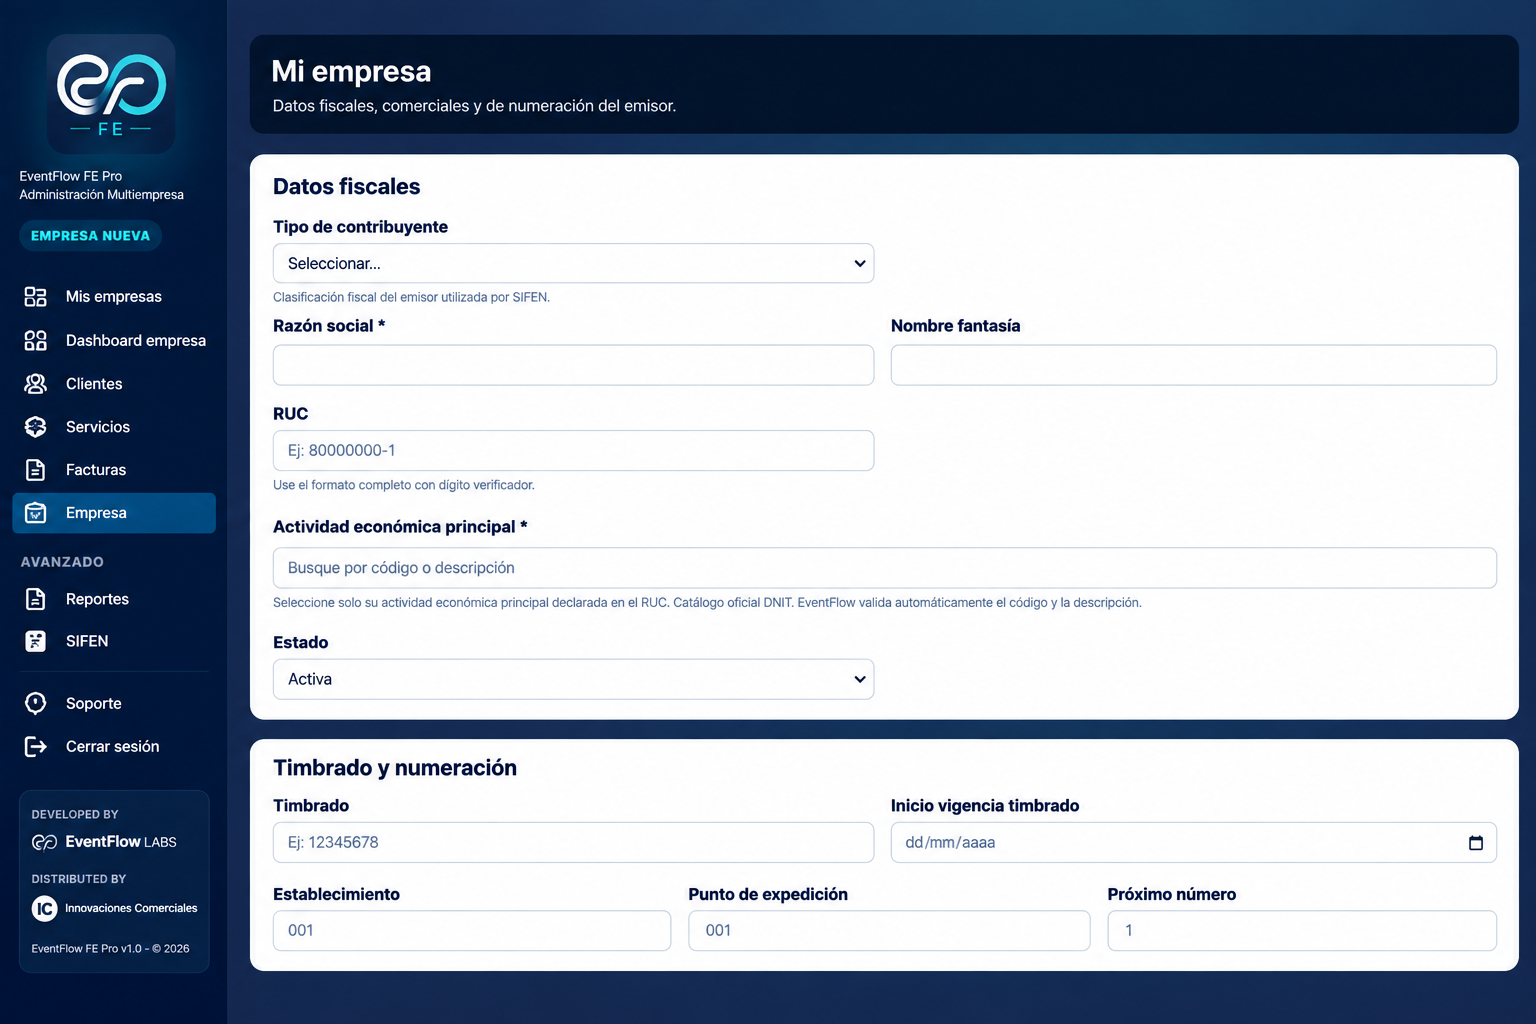
Under Fiscal data, complete the taxpayer type, legal name, trade name, RUC and principal economic activity.
Then configure the electronic timbrado and document numbering:
- Timbrado. Enter the company’s electronic timbrado.
- Validity start date. Enter the start date of the timbrado.
- Establishment. Enter the corresponding establishment number.
- Issuing point. Enter the issuing point.
- Next number. Enter the next document number to be used.
For the principal economic activity, select the activity declared in the RUC using the official DNIT catalog available in EventFlow FE PRO.
3. Complete company details
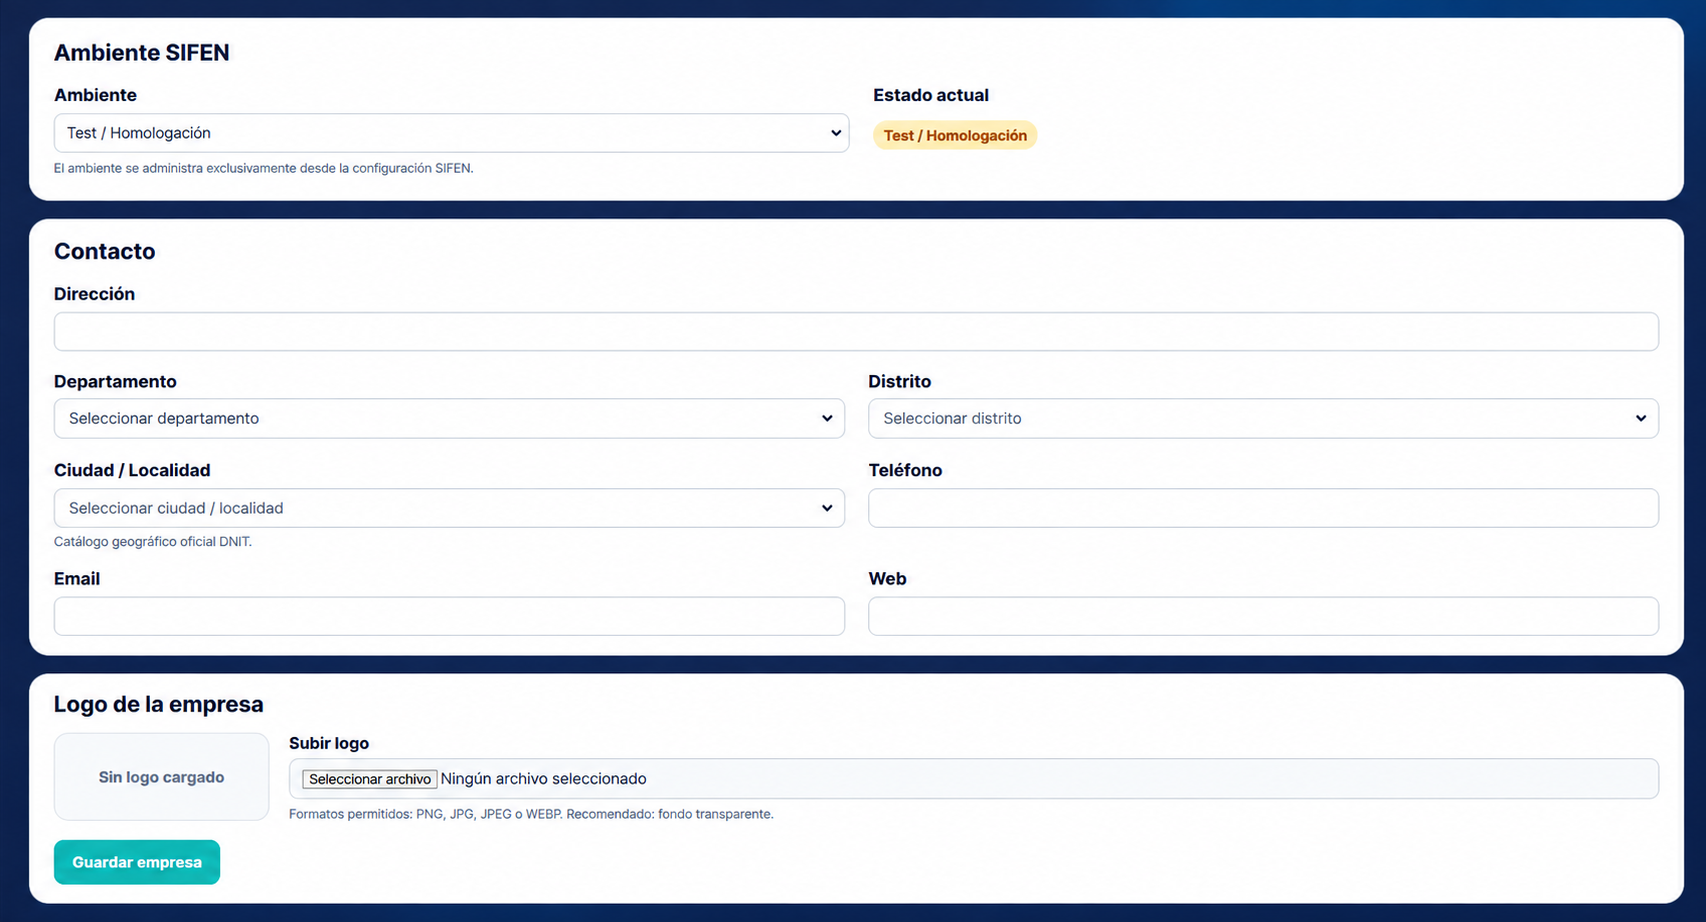
Complete the company’s address and geographic information using the available department, district and city/locality fields.
Telephone, email and website information can also be recorded when applicable.
If the company uses a logo on its documents, upload it under Company logo.
When the information is complete, select Save company.
Company configuration complete
The company is now configured in EventFlow FE PRO. The next step is to configure its SIFEN environment, CSC credentials and electronic signature.